

How to Practice Dance at Home Without Reinforcing Mistakes
Published on May 2026
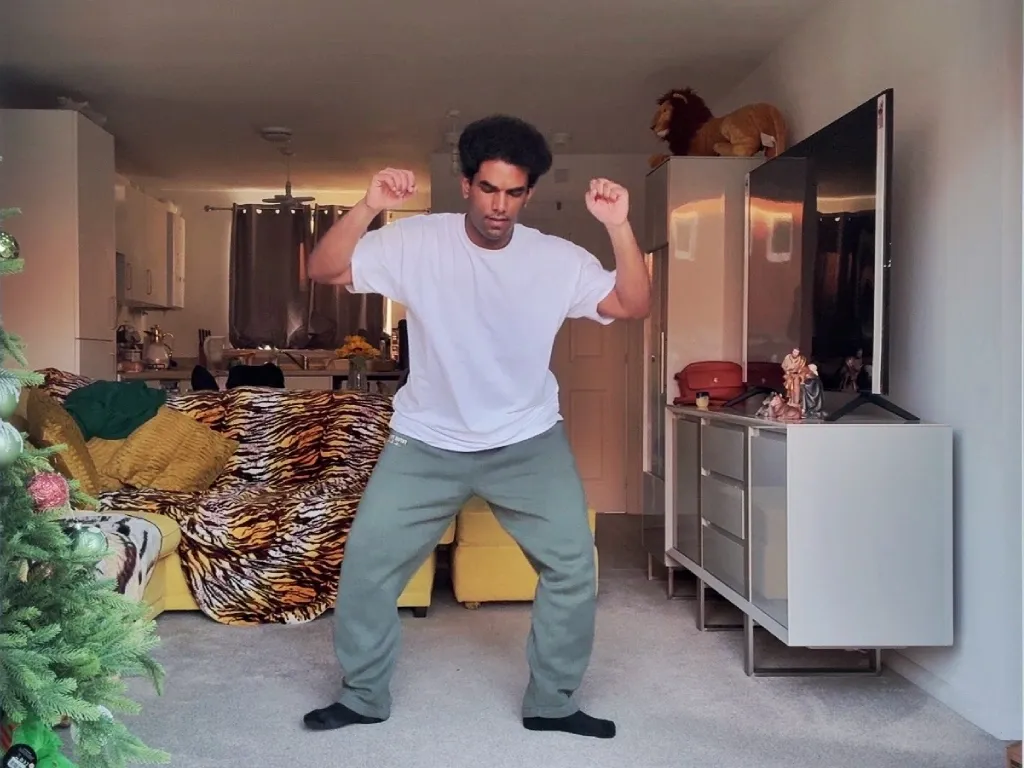
Here is the uncomfortable truth about home practice: doing it wrong for an hour is worse than not doing it at all. Every time you run through a routine with the same bad habit — a dropped shoulder, a weight transfer that is half a beat late, a chin that keeps falling — you are not practising the correct movement. You are practising the mistake. And the brain is very good at memorising whatever you repeat most.
The good news is that fixing this is not complicated. DanceBetter analyses your practice footage and breaks down exactly what is happening across your whole body — head position, arm lines, posture, and footwork — then generates a personalised practice schedule targeting the specific things that need work. You stop guessing what to fix and start spending your practice time on the things that actually matter.
Upload a short clip, get a full technique breakdown in seconds, and follow the practice plan it generates. That is the difference between practice that compounds and practice that spins in place.
Why Most Home Practice Makes Things Worse
When you practise in a studio with a teacher, every mistake gets caught quickly. At home, without that external eye, you can run the same sequence fifty times and never notice the elbow that drops on the third count, because it feels completely normal from the inside. After fifty repetitions, that dropped elbow is muscle memory.
This is not a motivation problem. It is a feedback problem. And it affects dancers at every level — not just beginners.
The two most common home practice mistakes:
Running full routines from start to finish repeatedly. Full run-throughs feel productive. They are not how improvement actually happens. They embed the weak sections alongside the strong ones and give you no information about which is which.
Relying on how movement feels instead of how it looks. Your proprioception — your internal sense of where your body is in space — is calibrated to your existing habits, not to correct technique. This is why a movement can feel completely fine and look obviously wrong on camera. The feeling cannot be trusted until the habit is already correct.
The Structure That Actually Produces Improvement
A 20-minute home practice session that compounds looks like this:
Five minutes — warm up with free movement. Put on music and move without any agenda. This is not choreography — it is getting your body into the habit of responding to music before you add conscious intention. Do not skip this.
Ten minutes — focused, specific work. Pick one element. Not a full routine — one thing. A single turn. The footwork in one eight-count. The arm position through one transition. Repeat it slowly and deliberately, then at tempo. Record it.
Five minutes — review and correct. Watch the recording immediately. Identify the single most obvious problem. Do three more repetitions specifically addressing that one problem. Stop.
This structure — short, specific, reviewed — produces faster improvement than longer unfocused sessions because you are closing the feedback loop on every attempt rather than repeating into a void.
[Screenshot: DanceBetter upload screen showing a practice clip being submitted]
How to Record Yourself Properly
Recording is not optional — it is the mechanism through which home practice becomes useful. But how you record matters.
Position your camera at full-body height. Your phone propped on a stack of books at eye level cuts off your feet and hides your footwork entirely. Set it low enough that your full body is visible from head to toe with a small amount of space above your head.
Film from the front and from the side. Front view shows your arm lines, symmetry, and facial direction. Side view shows your posture, weight transfer, and whether your chest is over your hips or behind them. If you only record one angle, the side view catches more technique problems than the front.
Use good lighting facing you. Natural light from a window in front of you works well. Light behind you turns you into a silhouette and makes the footage nearly useless for technique review.
Record every attempt, not just the ones that felt good. The takes that felt wrong are the most useful footage you have, because they show you exactly what you are trying to correct.
[Screenshot: Example of well-framed practice footage in DanceBetter — full body visible, good lighting, side angle]
What DanceBetter Analyses in Your Practice Footage
Once you upload your clip, DanceBetter produces a breakdown across five areas of your body simultaneously — things that are nearly impossible to catch yourself when you are focused on executing the movement.
Head and eye focus. Whether your chin is dropping, your gaze is going to the floor, and whether your head position is affecting your overall posture and projection.
Arm lines and hand placement. Whether your extensions are reaching their full potential, whether your elbows are locking or softening at the wrong moments, and whether your hands are completing the line or cutting it short.
Posture and body alignment. Whether your shoulders are rising under effort, whether your core is supporting the movement or your lower back is compensating, and whether your chest position is affecting the quality of your movement through transitions.
Footwork and weight transfer. Whether your weight is shifting completely between steps or staying tentatively distributed, whether your footwork timing is landing on the beat or drifting, and whether your floor connection is grounded or light.
Overall timing and musicality. Whether your movement is genuinely connecting with the music or sitting slightly outside it.
[Screenshot: DanceBetter feedback report showing the head/arms/body/footwork breakdown with specific corrections for each]
The Practice Schedule Feature
After the technique breakdown, DanceBetter generates a personalised practice schedule based specifically on what it found in your footage. It is not a generic warm-up and cool-down template — it tells you which specific elements to work on, in what order, for approximately how long, and what to look for when you record your correction attempt.
This matters because not all technique problems are equally urgent. Some issues are causing multiple knock-on problems throughout your movement — fixing them first produces the most improvement in the shortest time. Others are cosmetic. The practice schedule is sequenced to address the high-impact problems first.
[Screenshot: DanceBetter practice schedule showing prioritised daily tasks with time allocations — e.g. "Day 1: Weight transfer on direction changes — 8 mins. Focus: full commitment to each step before initiating the next."]
Follow the schedule for a week, upload a new clip, and get an updated breakdown. The comparison between your first clip and your second is where you see the improvement that the internal experience of dancing never reveals.
Style-Specific Practice Tips
For K-pop and TikTok routines: Break the choreography into phrases of three to five seconds and lock in each one before connecting them. The most common mistake is running the full routine before any section is actually clean. Use DanceBetter's split-screen comparison feature to match your timing against the original reference frame by frame.
For technique styles (ballet, contemporary, jazz): Film barre work and centre work in separate clips rather than uploading a full class run-through. Shorter, isolated clips give the AI more precise feedback on the specific technical elements within each exercise.
For partner dancing: Upload clips from both the front and the side. If you are practising solo footwork for salsa or bachata, a side view shows the hip action and weight transfer most clearly.
For competition preparation: Upload the full routine from a competition-realistic distance — far enough that you would genuinely be judging a performance rather than assessing detail. This gives you the most accurate read on how the whole piece reads to an audience or panel. Read our full competition preparation guide for more on how to structure your prep timeline.
Frequently Asked Questions
How often should I upload to DanceBetter during a practice week? Once or twice per week is enough for most dancers. More frequent uploads before the technique from the previous session has had time to be practised and internalised produces diminishing returns. The cycle is: get feedback, practise the corrections for three to five days, upload again to see what changed.
What length of clip works best for analysis? Thirty seconds to two minutes works well. Short enough that you are not uploading an entire warm-up and cool-down, long enough that the AI can see your movement across multiple repetitions and identify consistent patterns rather than one-off moments.
Can I upload clips of specific problem areas rather than a full routine? Yes, and this is often the most efficient approach. If you already know which section of a routine is not working, uploading a thirty-second clip of just that section gives you more targeted feedback than uploading the full piece and waiting for the breakdown to find the problem you already knew about.
Does the practice schedule adjust as I improve? Yes. Each time you upload a new clip, the analysis and schedule update based on what the current footage shows. The first schedule targets your baseline weak points. Subsequent schedules reflect what has improved and what still needs attention — so the focus naturally shifts as your technique develops.
Ready to find out exactly what your practice footage is telling you? Upload a clip to DanceBetter →
New to dancing at home? Read our beginner's guide to learning dance at home →